The two ways that we have learned to expand the amount of hop plants we have is to either: harvest rhizomes or propagation. In order to harvest rhizomes you will need a plant with an established root system ~2-3 years old. Because Hops ‘n’ Hounds Farm is just starting out, we don’t have the ability to harvest rhizomes until future seasons and instead have been beginning to propagate to expand from our existing plants using clippings.
Note: Establishing new plants from clippings is effective but only expect an annual return of ~80% of the plants.
Finding an Opportunity for a Clipping
The main goal is to have a strong “Main Bine” for your individual plants. While you watch your hop plants take off to the skies on the trellises you have built (hopefully with some help from the previous blog), you may begin to see small additional bines begin to grow off of your main bine. By having one strong main bine, all the nutrients from the established root system will be more focused. Additional bines also require nutrients and as they grow longer, thicker, and with more leaves, they begin take away from the available nutrients for your main bine and, in turn, stunt its growth.
So you can either crop these additional bines and discard or use them to grow your “fleet”! When these additional bines begin to show up, that is your opportunity to prepare for propagation. From my recent experience and helpful insight from our fellow brew partners that gifted us our first plants, we allow the additional bine(s) to grow ~6” or greater. While that growth is stunting the growth of my main bine, it allows the offshoot to get big enough to clip and start propagating. Because we’re growing our hop garden, the trade off is worth it.
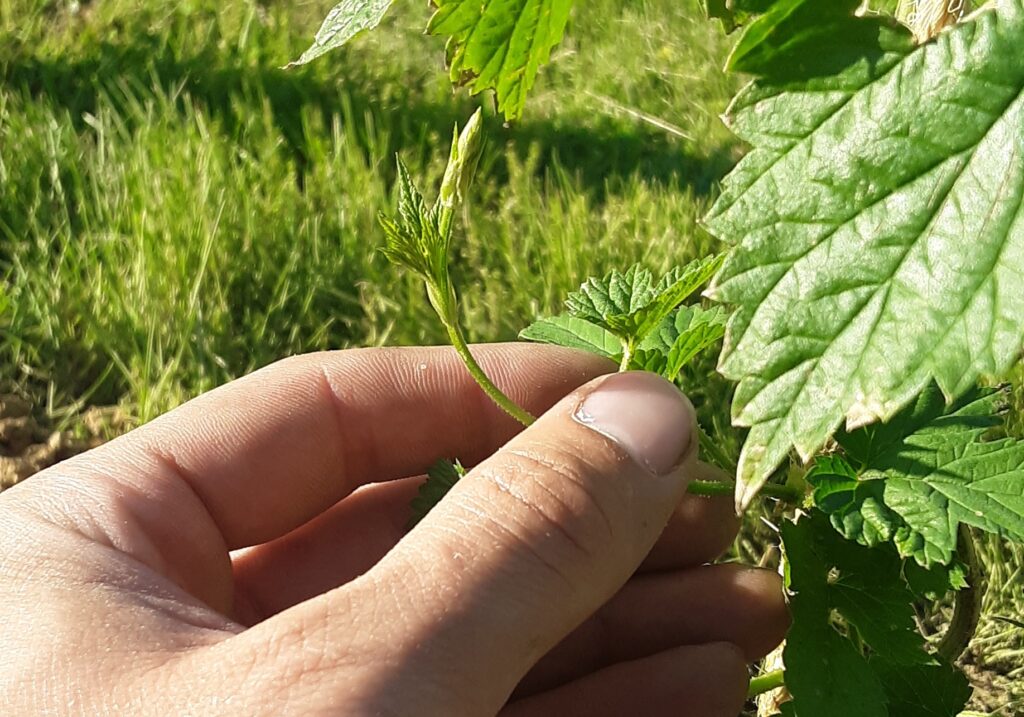
Once the offshoot bine(s) reach ~6 inches, we snip them off near the split from the main bine, but not directly at the split. It is also highly suggested to snip off some leaves from the clipped bine being used for propagation. Similar to the main bine practice, this focuses the nutrients to establish new roots and grow the plant. So leave a couple leaves to collect sun, but not so many as to take too many nutrients from the main bine.
Allowing New Roots to Form
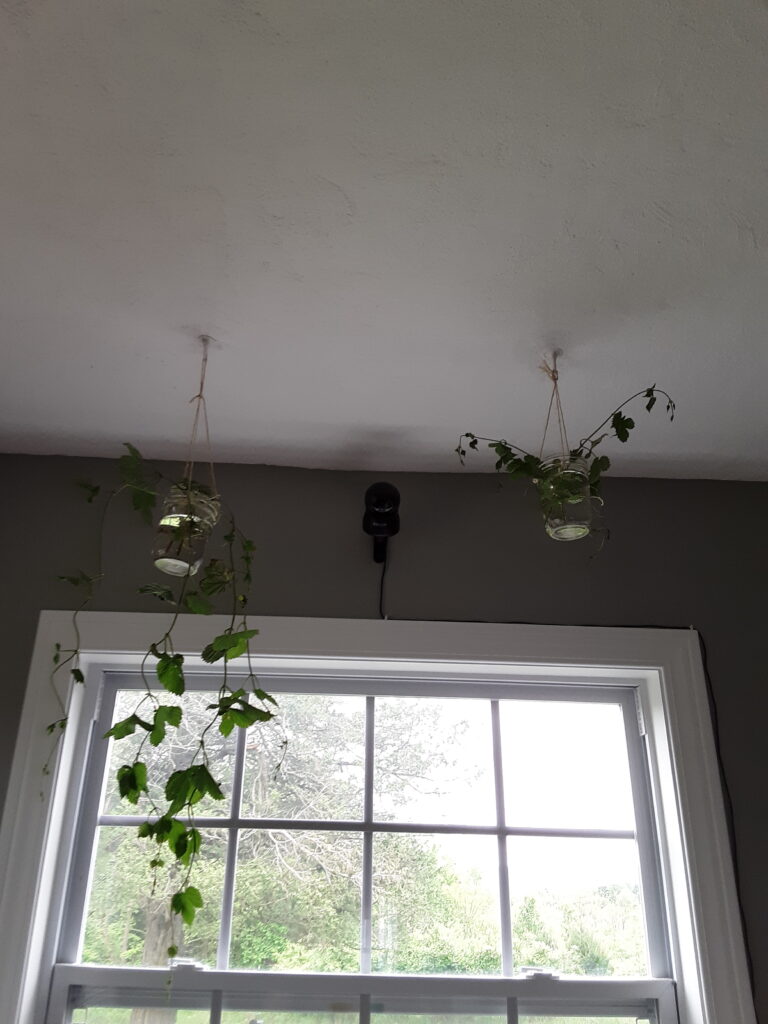
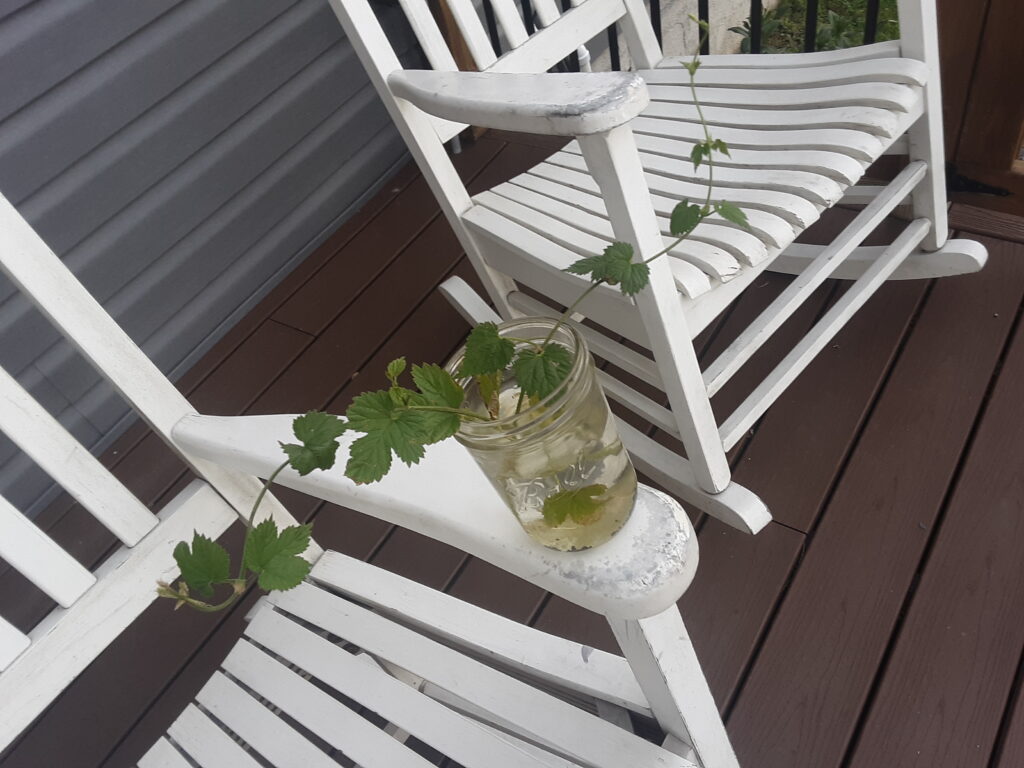
Now that you have your clipping(s), you simply need to store the clipped end in water and place them in an area of your home with maximum amount of sun exposure. We do this by placing the clipping(s) in mason jars full of water and either place them on the window shelf or hang them by the window. You can have more than one clipping in the same water container.
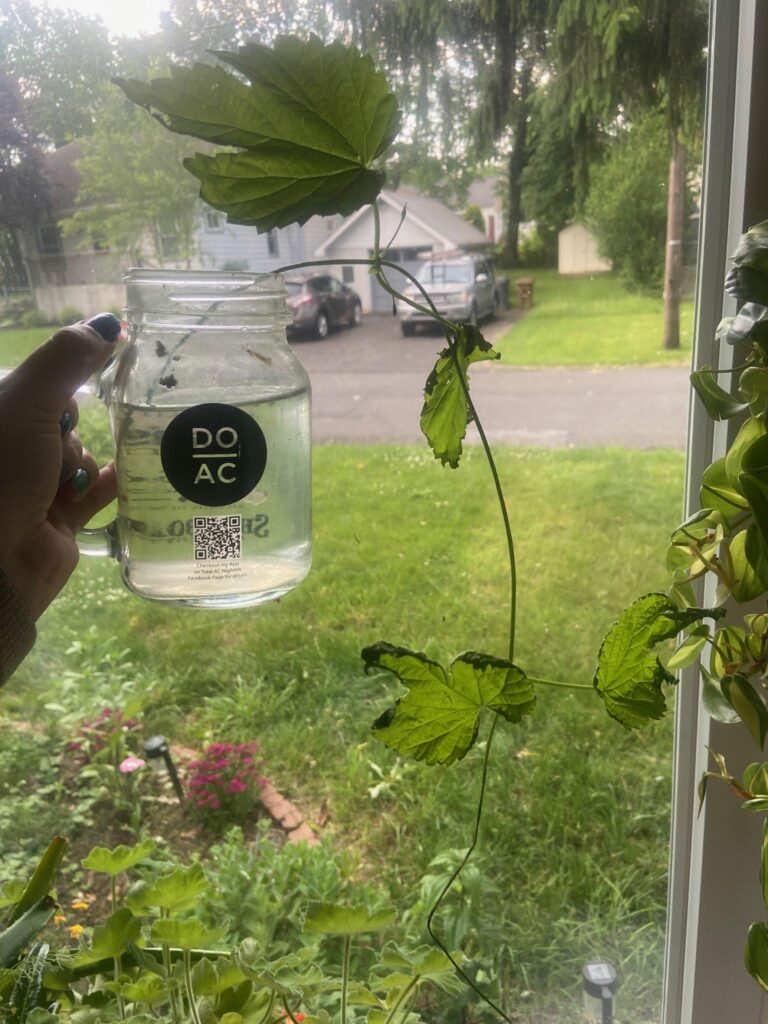
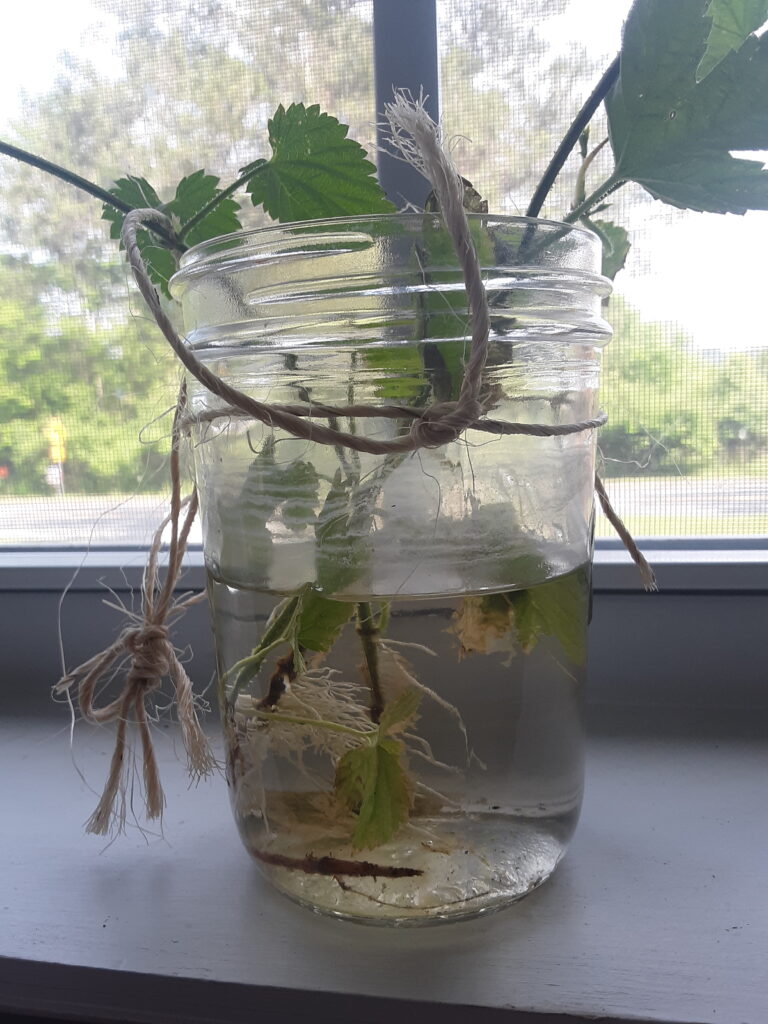
It is recommended to swap out the water every day or two so you can continue to provide all possible nutrients to the clipping(s). Continue to swap out the water and watch your clippings slowly grow, but also look in the jar/container of water after a week or two. You should begin to see some roots beginning to grow at the base of the clipping. Your bine is growing and becoming an independent plant!!
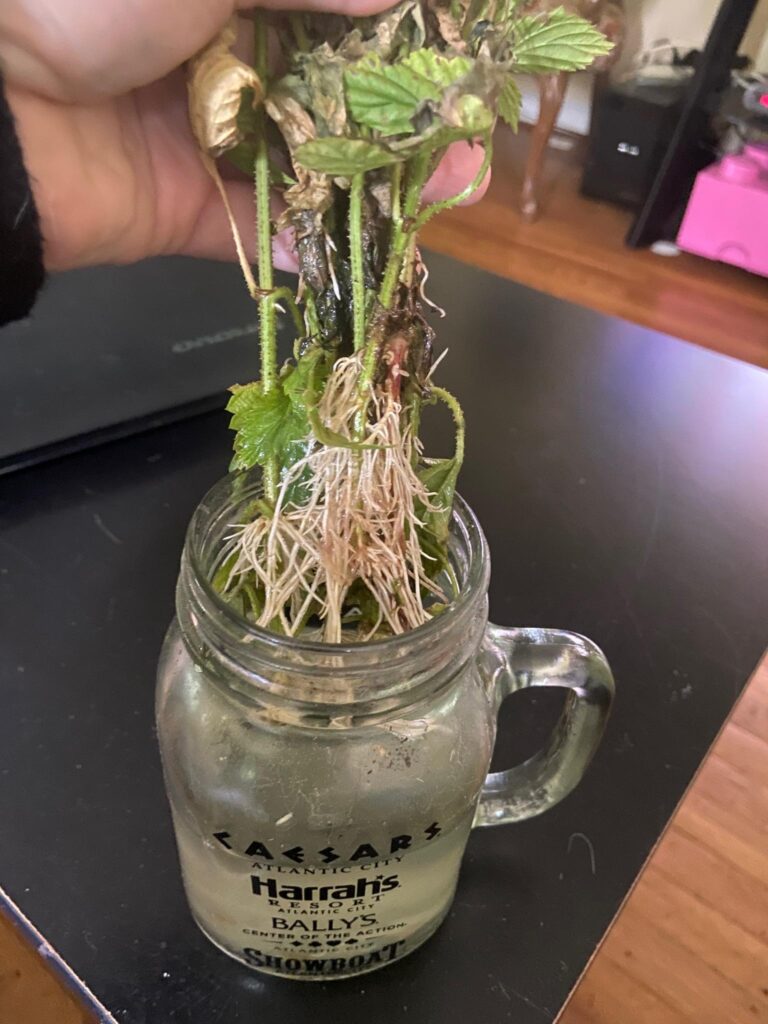
Allow the root system to continue to grow. Once you see an abundance of roots that are greater than ~1”, you can move the clipping (or now new plant) from the jar/container and move to a small planter.
Provide the plant with good potting soil and water as it continues to grow in the planter. When you begin to see the clipping struggling to hold its own weight, an interim trellis can be created for it. We simply find a small diameter stick and place it in the soil next to the bine and “teach” the bine wrap around the stick. Another method is to stake down twine at the base and connect it to the top of a stick/pole. Use that instead of just a stick to train the plant to grow up along.

When to Plant on the Main Trellis
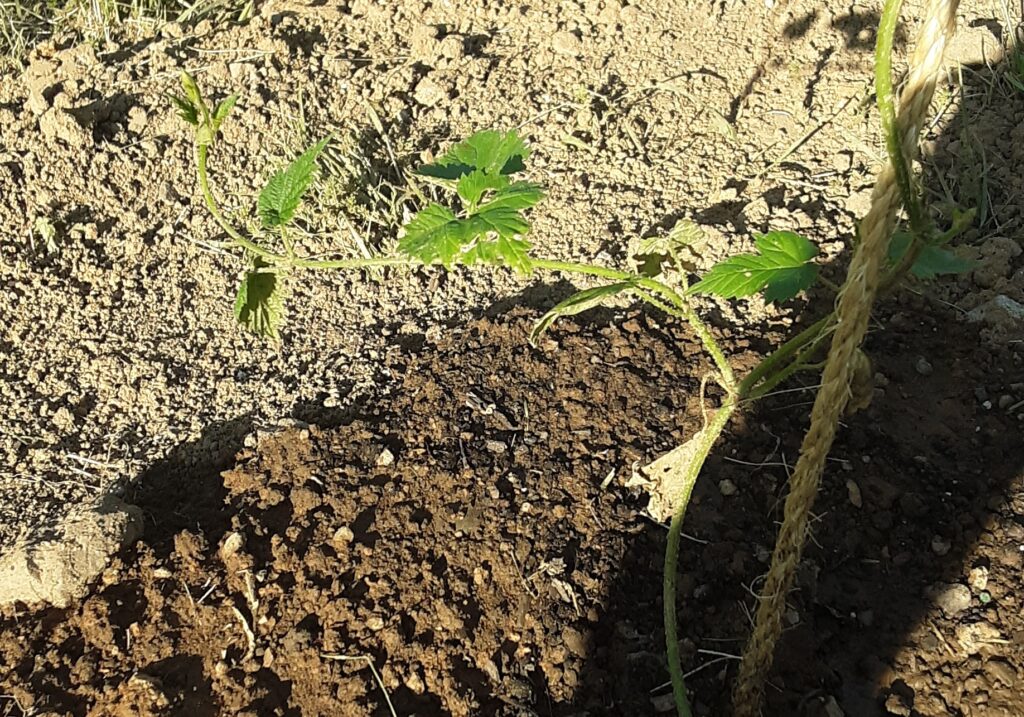
So far, we have waited until the new plant(s) are ~12” in length to move them to the main trellises. When you transfer plants to the main trellises, provide a nutrient rich surrounding of soil. From the interim trellis, you can simply unwrap the bine and wrap it around its new trellis line.
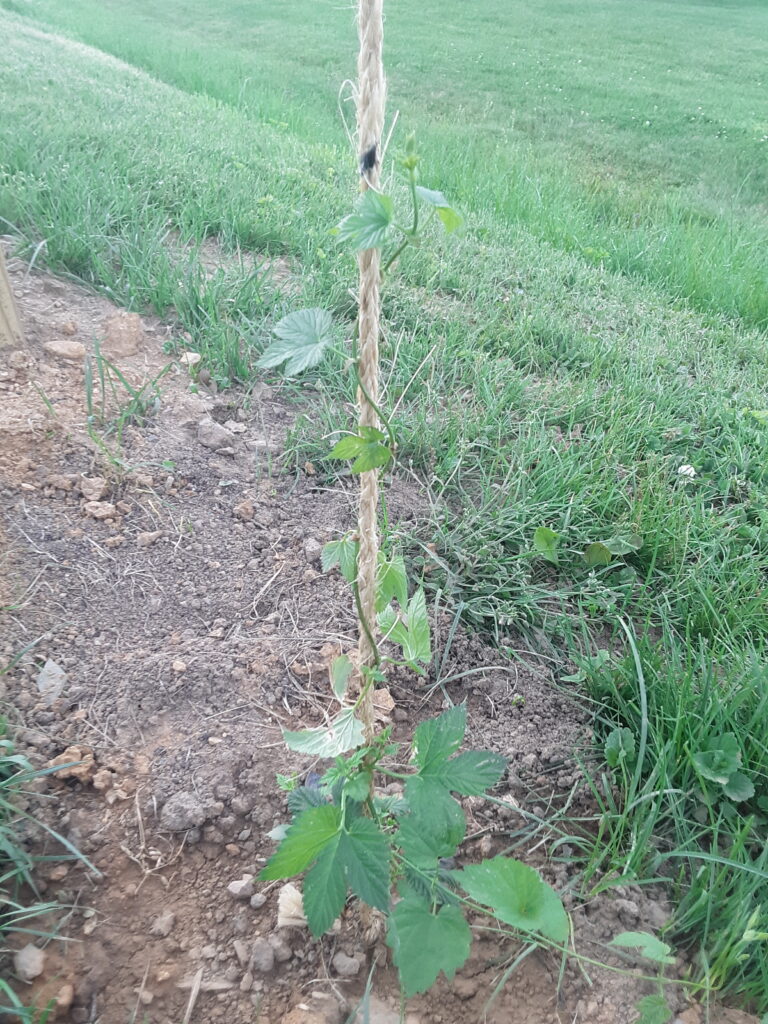
Usually for the first week or so, we will go out and make sure the bine is growing up the line properly and, if needed, we help it along. Hopefully, in a month or so, you have a new strong, healthy plant added to your garden! I say hopefully, as each step of this process has its opportunity for the clipping or plant to not take, but it’s been a good learning process so far. Don’t be discouraged if your first one doesn’t make it; Mine didn’t, but I learned from it! Keep going, stay positive, and get excited about future harvest to come!