This is Chris Schwall from Hops ‘n’ Hounds Farm writing what would be my first blog to try and get more information out there about growing your own hops that have worked for me. We will see how this goes as my wife, Alaina, is the more well read one of the family while I just “do,” so she will probably produce better blogs in the future.
Gifted Hops
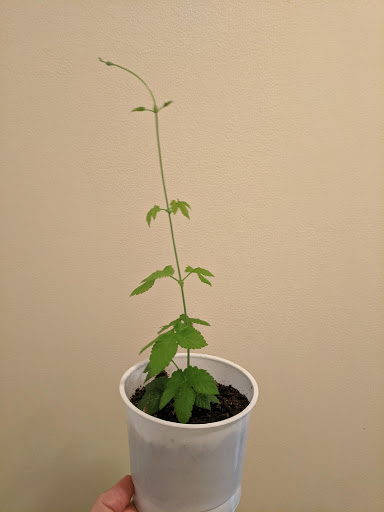
I had mentioned to my friends who grow hops that I wanted to begin to grow a variety of and abundance of hops that I could easily get to for harvesting. So a lot of this information I am about to share is not self taught but advice and insight from my friends. Shout out to Raphael, Jaesi, Janette, and Allan who have been successfully growing their variety of hops. Both couples gifted hop plants when we moved to our new house, knowing my intentions. That’s my kind of house-warming gift! We were gifted with a Comet hop plant from Janette and Allan along with two Cascade hop plants from Raph and Jaesi! Thank you all!
Initial Trellis Plan
I immediately was challenged with making trellises for these new hop plants in order to continue to allow them to grow healthy and establish their roots. I initially thought I could create a zig-zag wall of hops by allowing them to grow along a rope that I had jumping from two (2) six foot poles.
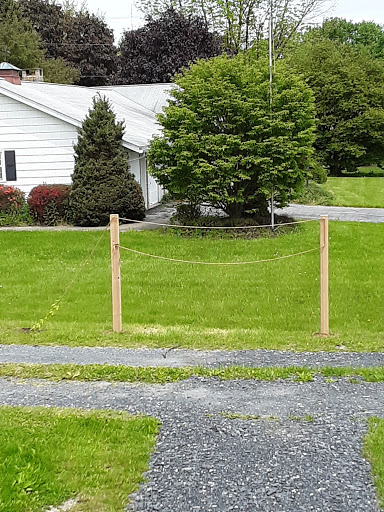
However, it was quickly advised to me to understand that hop plants move with the sun. This is why they simply wrap themselves around and grow upwards on rope or string, in most cases. Expecting them to grow at an angle or even sideways would require the gardner/farmer (me) to train the plant every day. “Training” is basically assisting the plant to continue to wrap around the string even though its motion following the sunrise and sunset does not mimic this. This turned me into researching how the “professionals” do it and how their trellises look. Before I continue on to the next part, I do want to mention that you can create beautiful and intricate trellises to grow your hops on. Some people have created natural gazebos with their hop plants, creating shade! However, I am planning to create an easy to harvest and maintain trellis system, so I changed my plans as my optimistic goal one day is to sell my hops to a brewery that might make a beer from them (after of course we make our own variety!).
Researching
After doing some research I found that the most common trellis system for hops are linear trellis systems in which wire is spanned between the top anchoring posts allowing rope/string to be hung vertically above the hop plant allowing it to grow along. Most research suggested allowing hop plants to grow 18’ or so, however, this is not necessary. You, as the farmer, can grow the hops to their maximum length or shorter.
**One major thing to note, Hops are an invasive species and roots can establish themselves up to 15’, so pick your planting area away from other plants and in an area that will allow for the plants to establish their roots without disrupting other items. Also, select an area where there is good water drainage through the soil. I am planting mine on the side of our driveway away from all other planters which also leads to the water runoff between our property and the neighbors.
Construction
So I decided on 12’ – 4” x 4” posts requiring me to bury and cement them, approximately 31-32” into the ground, giving my hop plants ~9.5’ to grow up to. I went to my local Home Depot and bought the following items:
- (4) 12’ – 4”x4” (~$16 a piece)
- (10) bags of concrete mix (~$5 per 80 lb bag)
Note: Use the guide on the Quikrete bags to determine the number of bags you should purchase, which is based on depth of your posts.
- (1) 1/8” x 30 ft (340 lb working load) Vinyl Coated Wire Rope Kit (w/ 2 thimbles and 6 clamps)
Note: Working load was not my requirement but the kit had what I needed and was the only load it came in so I used it. Most likely over kill.
- (6) 3/4” x 3” Screw eyes (130 lb working load)
Note: This working load as a safety factor choice and I preffered the size of the eyes based on the wire rope I bought.
- (1) 3/8” x 100’ Weather resistant rope.
Note: The rope I bought had a working load of ~100 lbs. This is just the rating for the thickness of rope I wanted to get. I haven’t researched “best” rope thickness but the 3/8” looked decent and sturdy so I chose it.
Items not purchased: Ground Stakes. I didn’t purchase ground stakes because I already had some but any kind of ground stake will work just to anchor the rope near the plant so it knows what to attach to.
With all items in hand the final construction started. I researched guidelines for burying posts.
For the diameter of the hole it was recommended by most or all to be 3X your post dimension. So, for my 4”x4” post, the required hole diameter was 12.” For the post depth, the most common one I saw was 2’ + 10% of the length of post planning to bury. So with 12’ post the suggested depth to bury worked out to:
10% * 144” = 14.4”
2’ + 10% = 24”+14.4” = 38.8”
However, those recommendations are usually based on the post supporting fence or structures, which I am not doing, just simple hop plants bearing little load. With that said, I went with 2’ + 5% length of post. So with 12’ post the suggested depth to bury workout to:
5% * 144” = 7.2”
2’ + 5% = 24”+ 7.2” = 31.2”
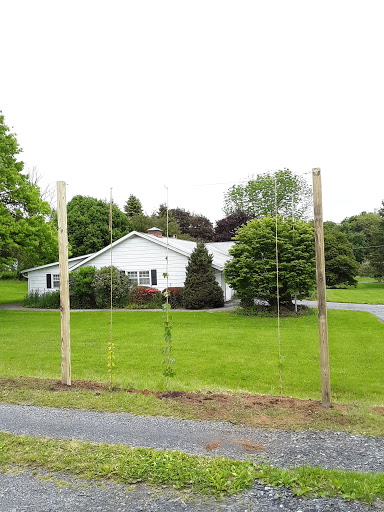
Next, I wondered how far to separate the posts? There was no definite answer I could find with research, but did find that a suggested distance to have between your hop plants was about 2′ – 3’ apart. I chose to separate the posts 12’ apart allowing me to plant four hop plants about 2.5’ apart. So I dug my 12” diameter by ~32” depth holes, leveled out my posts, and cemented them in per Quikrete guidelines.
I allowed the Quikrete to dry and finished mounting the post by covering the dried cement with excess dirt. Once the post holes were fixed, I installed my 3/4” x 3” screw eyes toward the top of the posts on the inside of each section in order to secure the wire. Once the screws were in place, I ran my wire (taunt) between the screw eyes and secured them on each end using the supplied clamps. I did this for each section (so 4 posts gave me 3 sections).
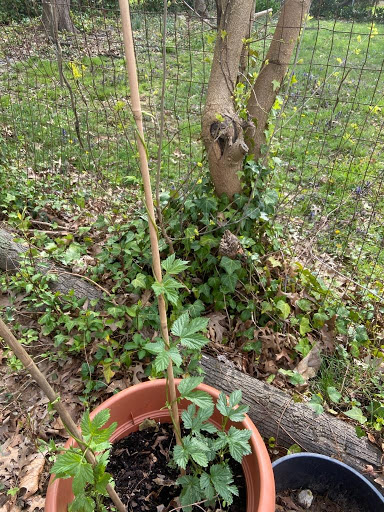
Planting the Hops
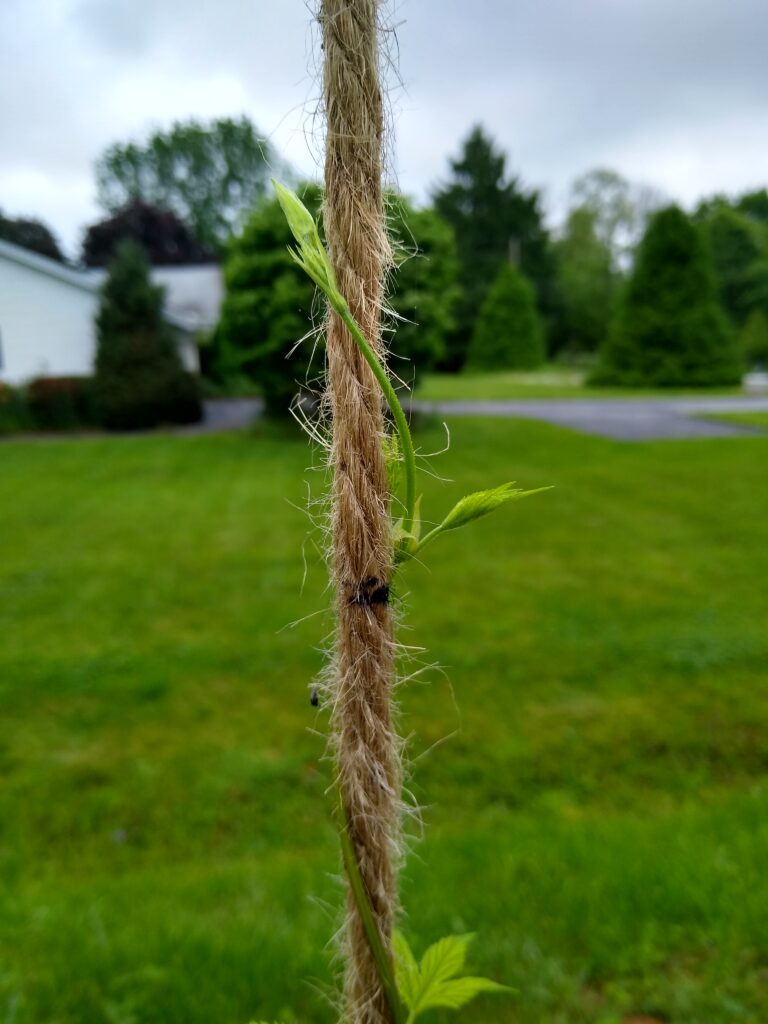
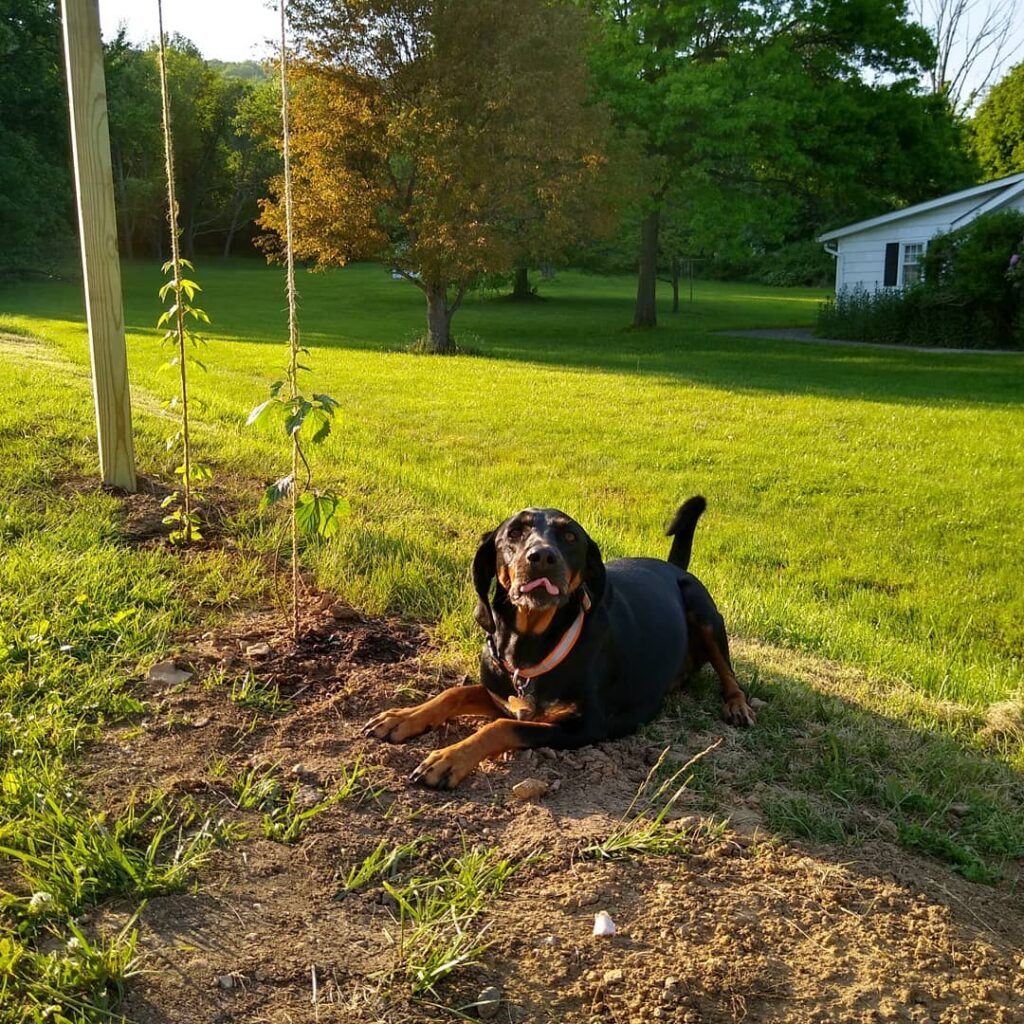
Once the trellis was completed I started to plant my hops. I measured out the 2.5’ from the post and dug my hole. There are many recommendations on how to plant your hop plant, so follow whatever method you feel fits! I dug our hop plant holes ~16” in diameter and filled them with a mixture of fresh potting soil and the soil I dug up. We made sure to bury the plant so that the original base of the bine growing from the pot gifted to us was at the same place when buried in the ground. I hung our 3/8” rope from the wire secured to the top of the post (can simply tie it on) and staked bottom of the rope into the ground and slightly buried it under ground for stability. We had slight tension on the rope when hanging, and opted to decrease the tension we first had, to give a little more flexibility. We helped/trained the plant to wrap around the new rope at its new planted area by unwrapping it from its existing set up (bamboo pole or string they came with) and re-wrapped it, following its natural curvature, around the new rope on the trellis. That’s the part Alaina helped with!
We did this for all 3 plants gifted to us and since then we have done nothing but watch them grow!
Above is my first organization of the plants. After constructing all (3) sections I decided to quickly relocate the Comet hop bine to its own section, so I can have sections of: Cascade, Comet, and TBD between each set of posts!
I think my next post will be about the little bines we trimmed, then propagated to get more hop plants. Until then,
Chris
Awesome work guys! I have been interested in growing hops for a while. I am curious if you know your soil composition and pH?
We do not. Everything we’ve planted so far has been very happy, but it is a good idea for us to look into the actual properties of our soil.